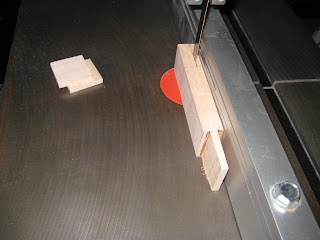
First the wood needs to be cut to length.

Next is putting the horizontal pieces (rails) through a dado blade to produce a cut that is as deep as the vertical pieces (stiles) are wide and 1/3 the thickness of the boards. The jig I made to help keep my hand away from the blade is blocking some of the view. This creates the mortise.

Then the rough tenon is created with a bandsaw. Bandsaws don't have the cleanest cuts so a little chisel work and sanding is needed. This could also be done on the tablesaw but I like having both set up and not switching back and forth.

After some sanding fit all of the pieces together and mark where the center of the corner is. Drill 1/4" holes (it hasn't been done yet in the picture) where the lines cross at the end of the mortise pieces. Then put in the tenon piece and mark the center on the tenon. Make a second mark about 1/16" or even less away from the end. Drill on the second mark. This will cause the 2 pieces to be sucked tight when the hole is pegged. Because of this trick I made the first several without any glue.

I'm tried something new with this set and used a plug cutter to make the plug. Before I was making dowels out of small pieces of walnut and that was just plain tedious.

Next will be the glue up, routering the back for the panel and putting in a panel. Last will be stain and varnish.
